How to make your own food wrap
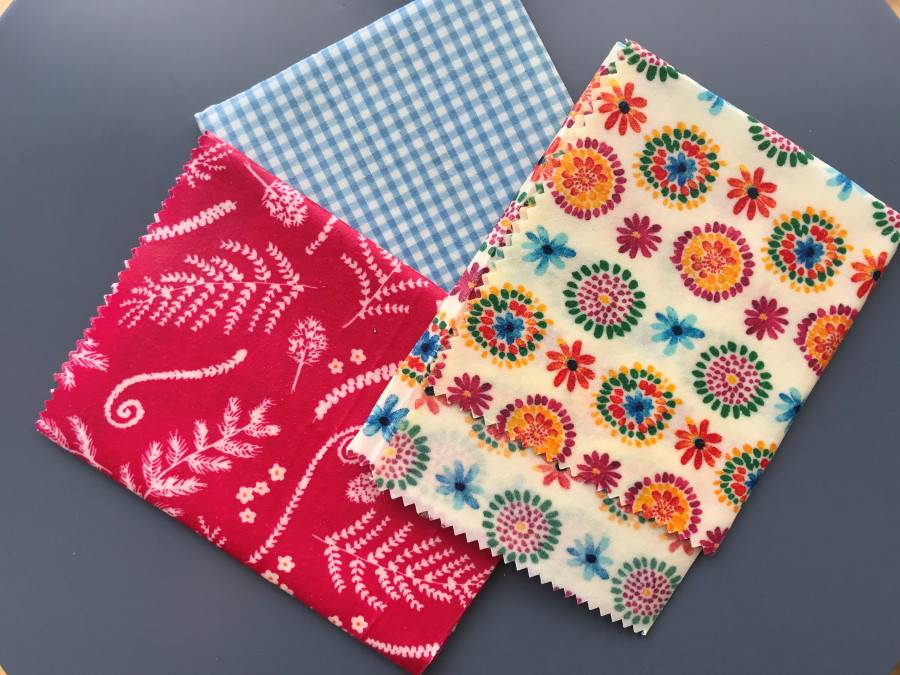
Beeswax wraps are a planet-friendly alternative to cling film. Beeswax food wraps are simple to make, last a long time and you can customise them to your liking so they look great too!
You will need
- Cotton fabric
- Pinking shears or scissors
- Baking tray
- Baking parchment
- Cosmetic grade beeswax pellets (available from health food stores or online)
- Pastry or paint brush
- A pen
- Washing line and pegs
Beeswax food wraps are simple to make, last a long time and you can customise them to your liking so they look great too!
Instructions
Step 1
Preheat the oven to 90°C and cut the fabric to the size food wrap you’d like to make
Using pinking shears will minimise fraying but scissors will do the job too!
Step 2
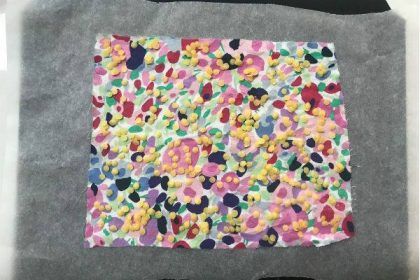
Place your fabric on a baking tray lined with baking parchment
If the fabric you’ve chosen is one-sided, remember to place the patterned side facedown.
Step 3
Sprinkle beeswax pellets evenly across the fabric
You want the wax to cover the fabric when melted but without any excess. If in doubt, try a little and then if there are any gaps after step 4 (below) you can add more and repeat.
Step 4
Put the sheet in the oven for 5-10 minutes
IMPORTANT – Keep watching the fabric all the time it is in the oven as it is a fire risk!
Step 5
Spread the beeswax
When the pellets have melted completely, use oven gloves to remove the tray from the oven and spread the beeswax evenly over the whole fabric with a paint brush or pastry brush
You’ll have to be quick to spread the wax before it cools, but don’t worry, you can always repeat step 4 if it sets before you’ve finished.
Step 6
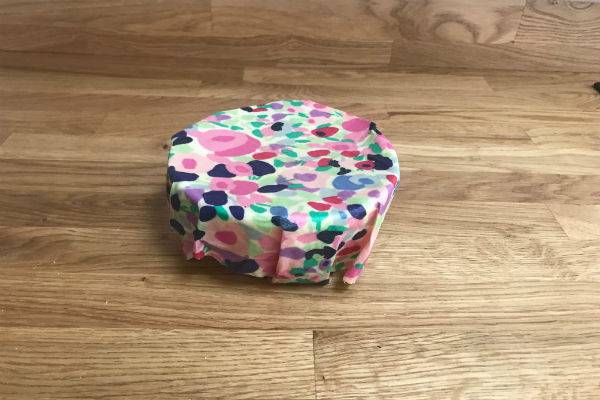
Time to dry!
Remove the fabric from the baking sheet using tongs, hang it up to dry over newspaper to catch any drips
Your home-made food wrap is ready to use once the beeswax has set and isn’t tacky.
Caring for your beeswax food wraps
Your food wraps can last up to a year or more if treated nicely and looked after. It’s recommended that you give them a refresh every 3 months or so by popping back in the oven on a baking parchment covered tray, but it depends on how often you use them.
To clean, simply splash a little washing up liquid and gently wash with cold water. Avoid contact with heat such as hot water, microwaves or ovens – you don’t want to melt the beeswax! Not suitable for use with raw meats.