Make seed stars
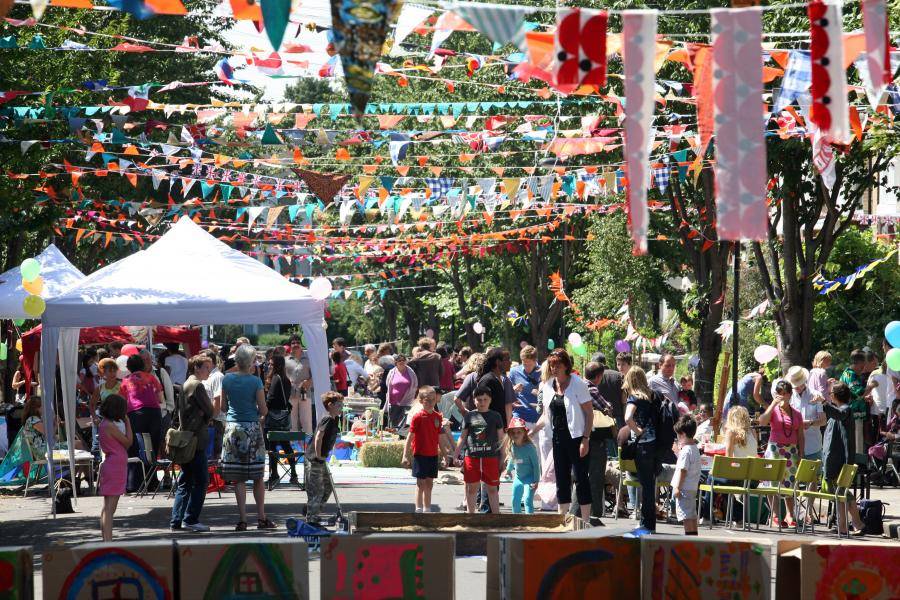
Seed stars are a fun way to sow by stealth and brighten up an area, creating splashes of colour and providing pollinator-friendly habitats. Use them to bring to life a bare roadside verge, an alleyway or a forgotten patch in your community.

You will need
- Paper from your recycling
- Scissors
- Flour and water, or PVA glue
- A small mixing bowl
- Something to mix and apply your glue – a paintbrush, stick, or your fingers will do!
- A packet of cornflower (or other native) seeds.


Instructions
These stars are super easy to make and provide a great introduction to guerrilla gardening. They can be put together weeks ahead of planting, making it the perfect rainy-day or community engagement activity. It’s always a bit of an experiment how well they work, but that’s part of the fun!
Step 1
Cut little squares of paper (roughly 4cm), you’ll need two squares per seed star.
Step 2
Mix together 1 tbsp flour and 1 tbsp water to form a paste or pour a blob of PVA glue into your bowl.
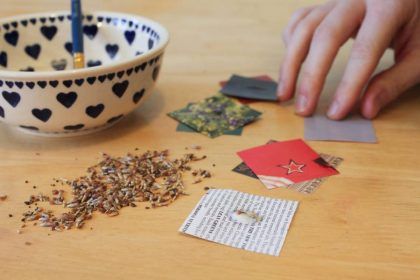
Step 3
Dab your flour paste or glue onto the square and sprinkle some seeds on top, leave a little space between seeds if you can.
Step 4
Place your second square on top of the seeds at an angle to form a star. Press the paper down to bind it all together and leave out to dry.
Step 5
When you’re ready, plant your seed star outside in your chosen spot, about 1cm deep and with a small distance in between each star. Water them if you can, otherwise leave it to the natural elements and wait for those first sprouts to appear!
Why not share the magic by gifting your seed stars?
Perhaps you could use them as a way to recognise the stars in your community? Write a message or decorate and post a seed star through a letterbox, use it as a gift tag or include it in a card for someone else to plant or pass on.