Create magical advent windows
Advent windows can help our communities shine bright over winter. Try creating a window silhouette display in your home and asking others to do the same, it's a fun and easy way to bring a bit of community joy and everyone can join in!
Make your own advent window
Hang lights, put up a picture, display your best ornaments or go wild with a chalk pen… unleash your inner artist and brighten up the day of passers-by. Invite your neighbours to take part too and you’ve created an outside winter gallery where everyone can do some window wondering.
One of our favourite ways to transform your house is a simple window silhouette. There’s some great ideas and inspiration on Window Wanderland, and some steps below to help you create your own magical display…
How to make window silhouettes
You’ll need:
- Black card
- Tracing paper (if copying a design)
- Coloured tissue paper (optional)
- Pencil
- Scissors or scalpel
- Glue
- Tape or blu tack
1) Design your silhouette
Choose what you want to create a silhouette of and where it will go. You might decide to go large and measure your whole space or to do something smaller to start with. .
Make sure you pick a spot people passing by will be able to see – it doesn’t even have to be a window!
2) Draw your shape onto black card
Draw your shape onto the black card. You could either do a block silhouette, or something more intricate with sections cut out inside (like a house with windows).
If you’re stuck for ideas or want to create something quickly, download and print our template, and cut out or trace out the design onto black card.
3) Cut your shape out
Using scissors or a scalpel, carefully cut out your shape and any details.
Depending on your design, cut and glue the coloured tissue paper onto the back of your card so it fills in any gaps like a stained-glass window.
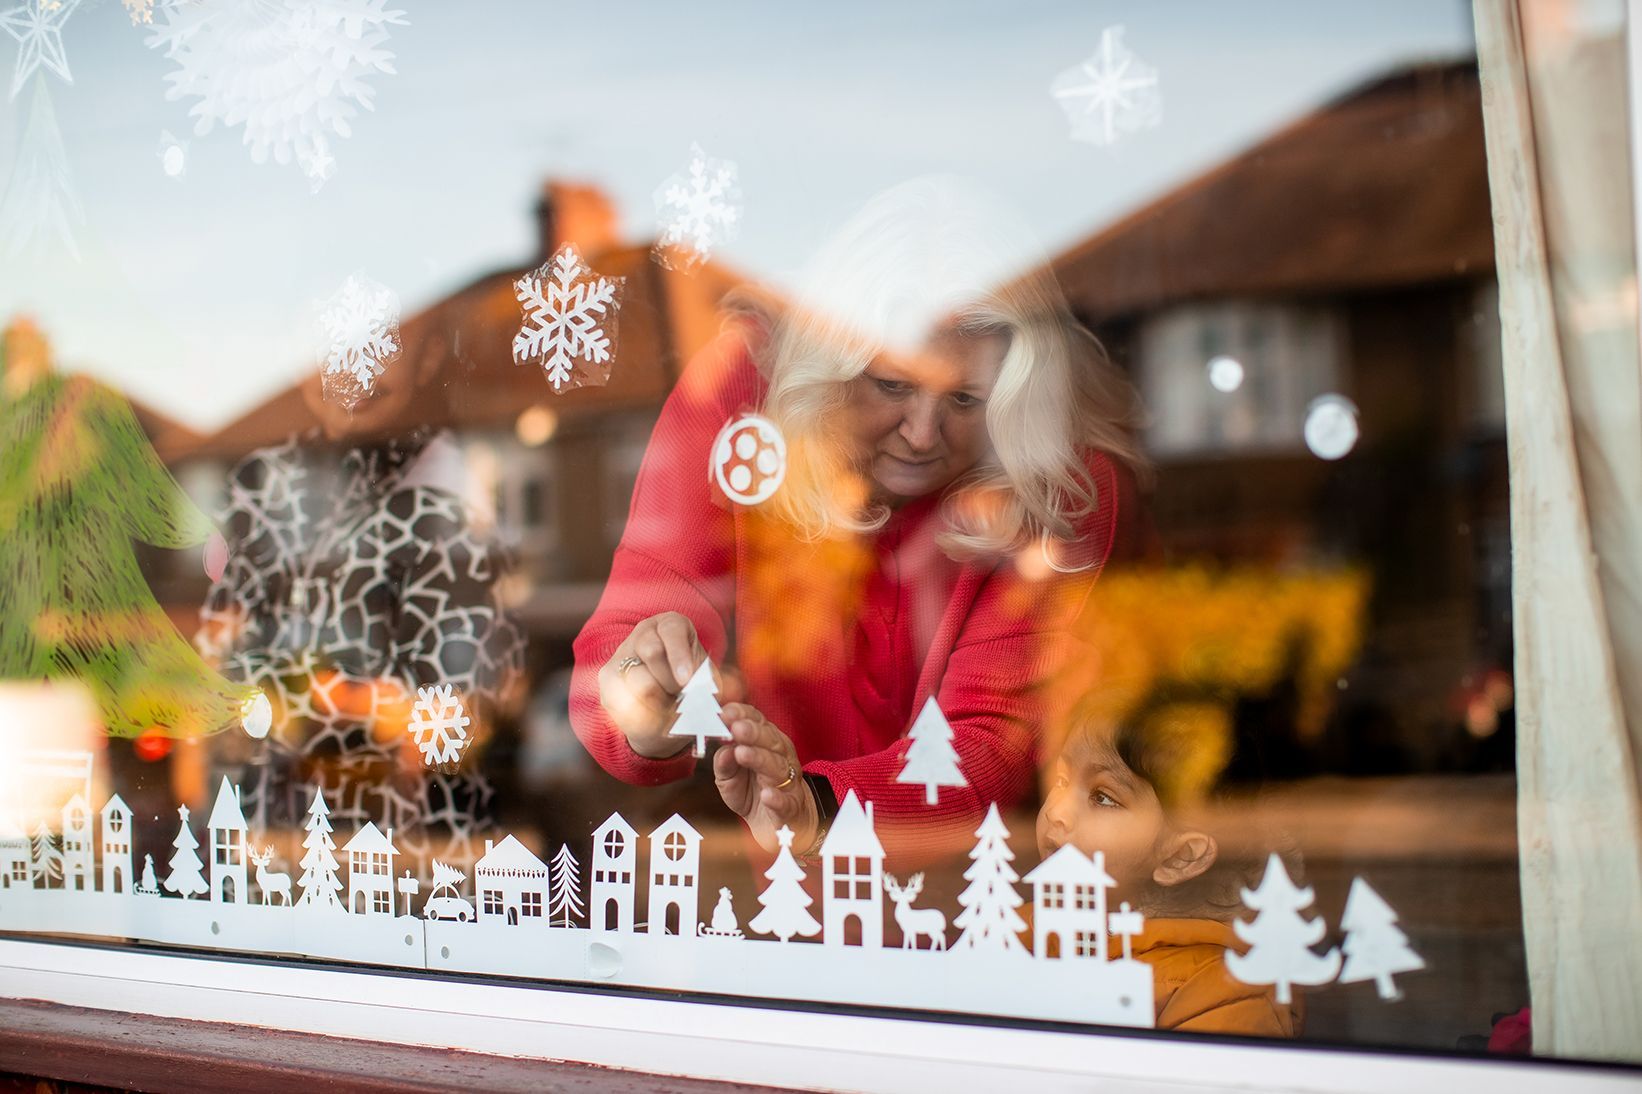
4) Stick your design to the window
Secure your design to the window with tape or blu tack (make sure it’s facing outwards). As the evening draws in, switch your lights on, step outside, and see your creation shining bright.
Organise a Living Advent Calendar
Take your advent windows to the next level with a Living Advent Calendar: unveil a new advent window every night for some festive community cheer. Our friend Amy has been organising one in her local area of Whitehall Park for years – she’s written down her top tips below!
1) Define your area
It’s important to be clear on the geographic boundaries for your project, otherwise it may become sprawling and unmanageable. Target a specific area, like your street or a clearly defined residential area.
2) Recruit volunteers
A few months before December, hold a little get together to give people an introduction to the project and inspire them to get involved. Amy held a cheese and wine night; some good snacks are guaranteed to get you some willing volunteers! You’ll need enough houses to get involved so you’ll have a new window to unveil on every night of Advent. Read our tips on how to recruit volunteers here. Once you’ve got people involved, set up a Facebook or WhatsApp group to share updates, news and create a sense of community around the project.
3) Identify partners
Think about who can help you get the word out. Are there any local publications or newsletters that might help? You could approach your local residents’ association, a nearby church or school, or your council. Local businesses may also be willing to offer support.
4) Make a timetable and map
Once you know who is taking part, assign each home a day of Advent. Once this is done, it’s a lovely idea to create a timetable and map that you can use to show people which new Advent Window will be shown each day. This doesn’t have to be fancy: roughly map out the area taking part, doodle some houses and label each one with the day of Advent they will be representing. You can print these off and ask volunteers to distribute them around the community. Or, have a go at creating an interactive online map – giving you a link to share with neighbours. And if you need help, ask if anyone has made one before as chances are, someone has!
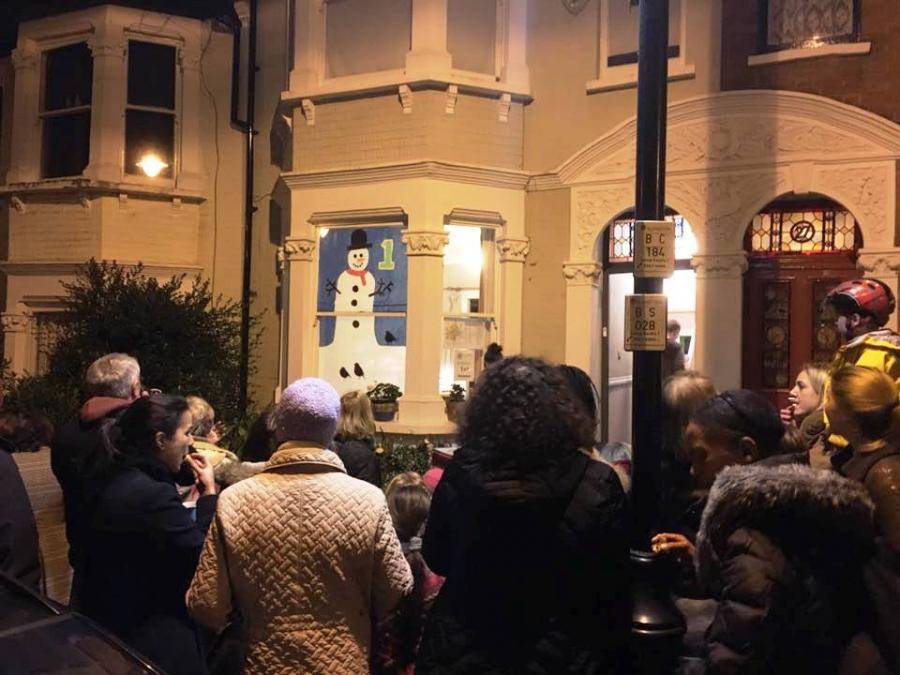
5) Enjoy the displays
Going along to the different displays is the best bit of the project! Gather outside each display with some mulled wine and mince pies and take in the lovely windows. Make sure to take plenty of photos to share your experience with others. Post them on your Facebook or WhatsApp group so you can keep everyone involved and enjoy looking back on how your Living Advent Calendar unfolded.
We’d love to hear your story
If you’ve been inspired to organise Advent Windows in your community, we’d love to hear from you. Seeing everyone’s magical advent window creations puts a huge smile on our faces!